
We want you to get the most out of your ‘luxury villa’ stay in Solterra, Davenport (near Championsgate and just south of the Disney World Resort area). To help out, we have sourced the following blog post to keep you up to date with news from Walt Disney World Resort. Thanks to the guys over at Blog Mickey for the original post...
MagicBand+ is now available for purchase at the Walt Disney World Resort and we made it out to Disney’s Hollywood Studios this morning to purchase a band and take a look at the features. In this MagicBand+ guide, we’re going to take a look at the unboxing and initial setup of the MagicBand+.
MagicBand+ Unboxing
All of the MagicBand+ that we saw for sale this morning were packaged in an elongated box that showed off the full design of the band.

Upon opening the box at the top, the MagicBand+ was strapped to a display sleeve with the proprietary cradle charger on the back of the sleeve. The charger has a proprietary cradle at one end of the 6″ cord and a USB-A connection on the opposite end. This USB-A connector is a common outlet-type in the newly designed Walt Disney World rooms and the same connector that FuelRod chargers currently utilize. Disney will want you to recharge your MagicBand+ often and advertises a 1-3 day life on the rechargeable battery. We’ll have more on charging your MagicBand+ in a future article.


Here’s a closer look at our Darth Vader MagicBand+, which includes a peel-away portion on one side of the MagicBand+ for smaller wrists.


On the back of the MagicBand+ are identifiers, the charging points, and the all-important activation button (bottom right).

MagicBand+ Set Up
To set up the MagicBand+, first, make sure that you have the latest version of My Disney Experience.
Find the “MagicBands and More” page within My Disney Experience by clicking on the three lines in the lower right of the app and then clicking on the square. From there, you’ll want to tap on “Link Your MagicBand or Card”.

In order to link the MagicBand+ to your account, click on the “Open Scanner” button and tap the MagicBand+ to the top of your device (or wherever the reader is on your particular device). Then, click the person that you would like to assign the MagicBand+ to and tap “Continue”.

From there, you’ll be asked to pair your MagicBand+ to your device via Bluetooth. This will allow for interactive elements that are exclusive to the MagicBand+. You can skip the pairing, but we suggest that you pair your MagicBand+ to your phone after linking it to your My Disney Experience account.

Once the pairing process is complete (only a few seconds), then you’ll be asked to charge and update your MagicBand+.

That’s it! From there, you can apply some optional customization options to your MagicBand+ and you’ll be good to go!
To learn more about MagicBand+, check out our articles below!
MagicBand+ Launching July 27th at Walt Disney World
Walt Disney World news, photos, and reviews! We provide you with daily news from the Walt Disney World theme parks and beyond
How Much Does MagicBand+ Cost?
Walt Disney World news, photos, and reviews! We provide you with daily news from the Walt Disney World theme parks and beyond

MagicBand+ Setup Guide
Walt Disney World news, photos, and reviews! We provide you with daily news from the Walt Disney World theme parks and beyond
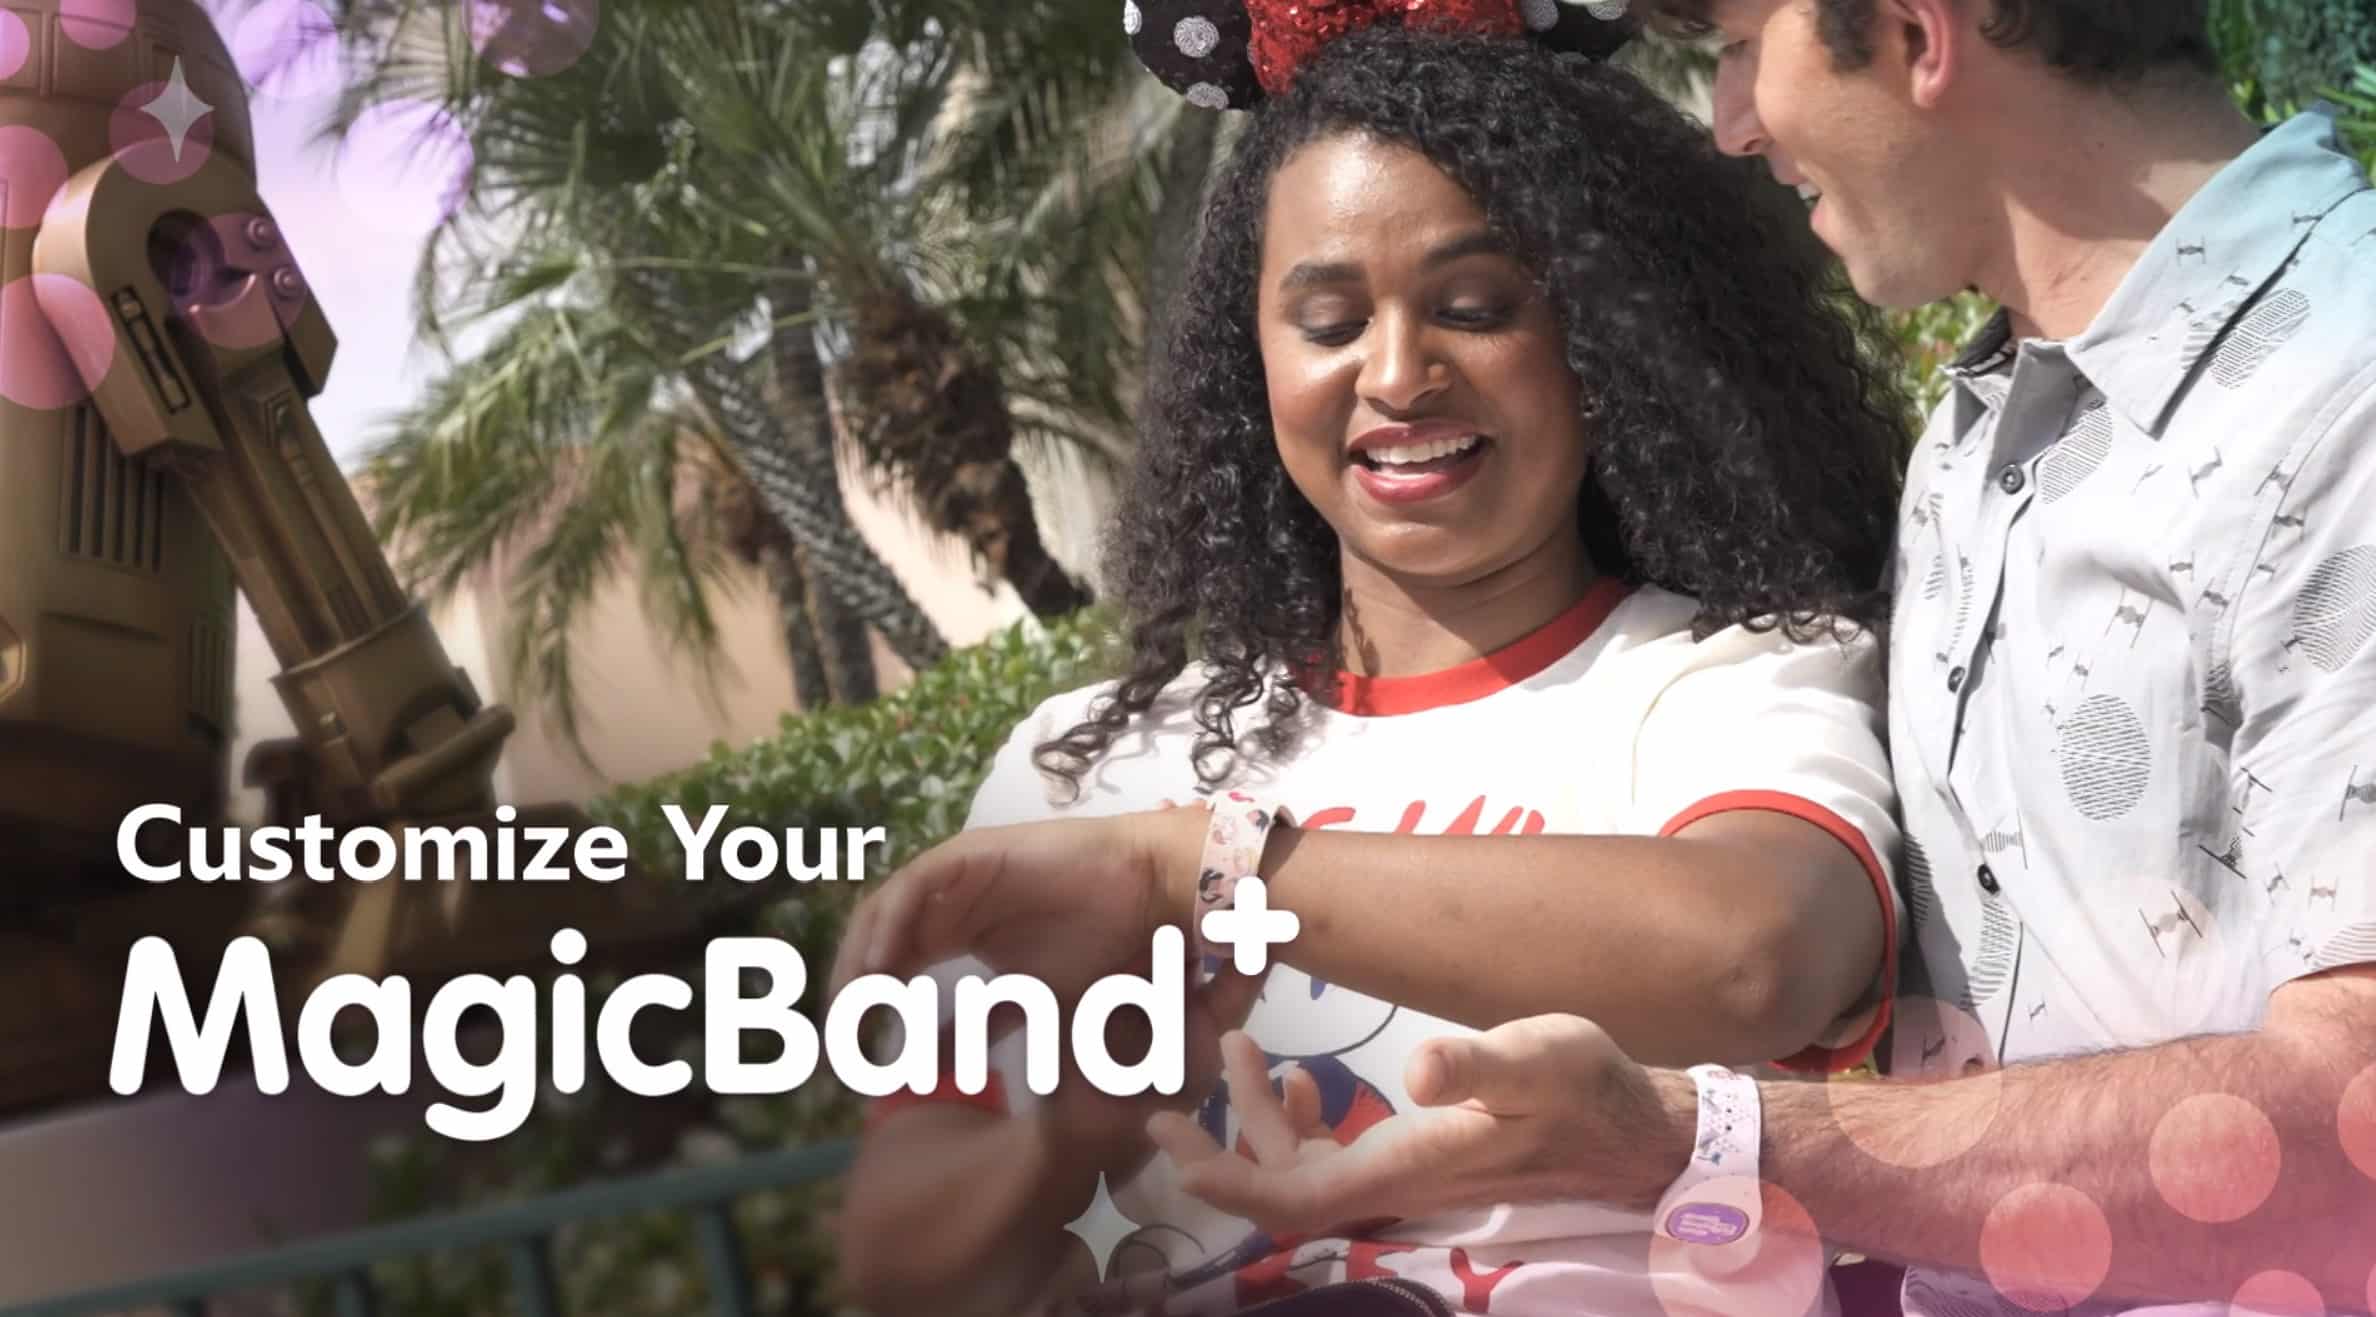
MagicBand+ Guide: Customize Lighting, Vibration, and Motion Recognition Settings For Your MagicBand+
Walt Disney World news, photos, and reviews! We provide you with daily news from the Walt Disney World theme parks and beyond
As always, keep checking back with us here at BlogMickey.com as we continue to bring you the latest news, photos, and info from around the Disney Parks!
Notice: JavaScript is required for this content.
That's all folks!
Well, for this post anyway. To stay tuned to the latest news from around the Orlando area, including Disney World, Universal Studios, SeaWorld and many more attractions, just ‘opt in’ to our weekly newsletter. We won’t spam you and you can opt back out if you ever get tired of news from Orlando. Like that would ever happen?!